Scottish Eggs
Items Needed
- 20-24 Quail Eggs - can substitute chicken eggs but will have to compensate for their size
- 1lb package of Sausage
- Bread Crumbs of your choice (I use Italian seasoned bread crumbs and crushed Ritz crackers - about 2 parts breadcrumbs for 1 part crushed crackers)
- 2 Medium Chicken Eggs
- Salt
- Pepper
- Oil (for frying)
- Metal Tongues (used to remove Scottish eggs from fryer oil)
First hard boil the quail eggs
- cover eggs completely with cool water. make sure there is about an inch or more of water covering all the eggs. add about 2 tablespoons of cooking oil to water to make peeling easier.
- bring water in pan to a rolling boil.
- turn off water and allow to cool for about 5 min.
- move pan to sink and run cold water directly into pan of hot water/eggs until eggs are cool when held.

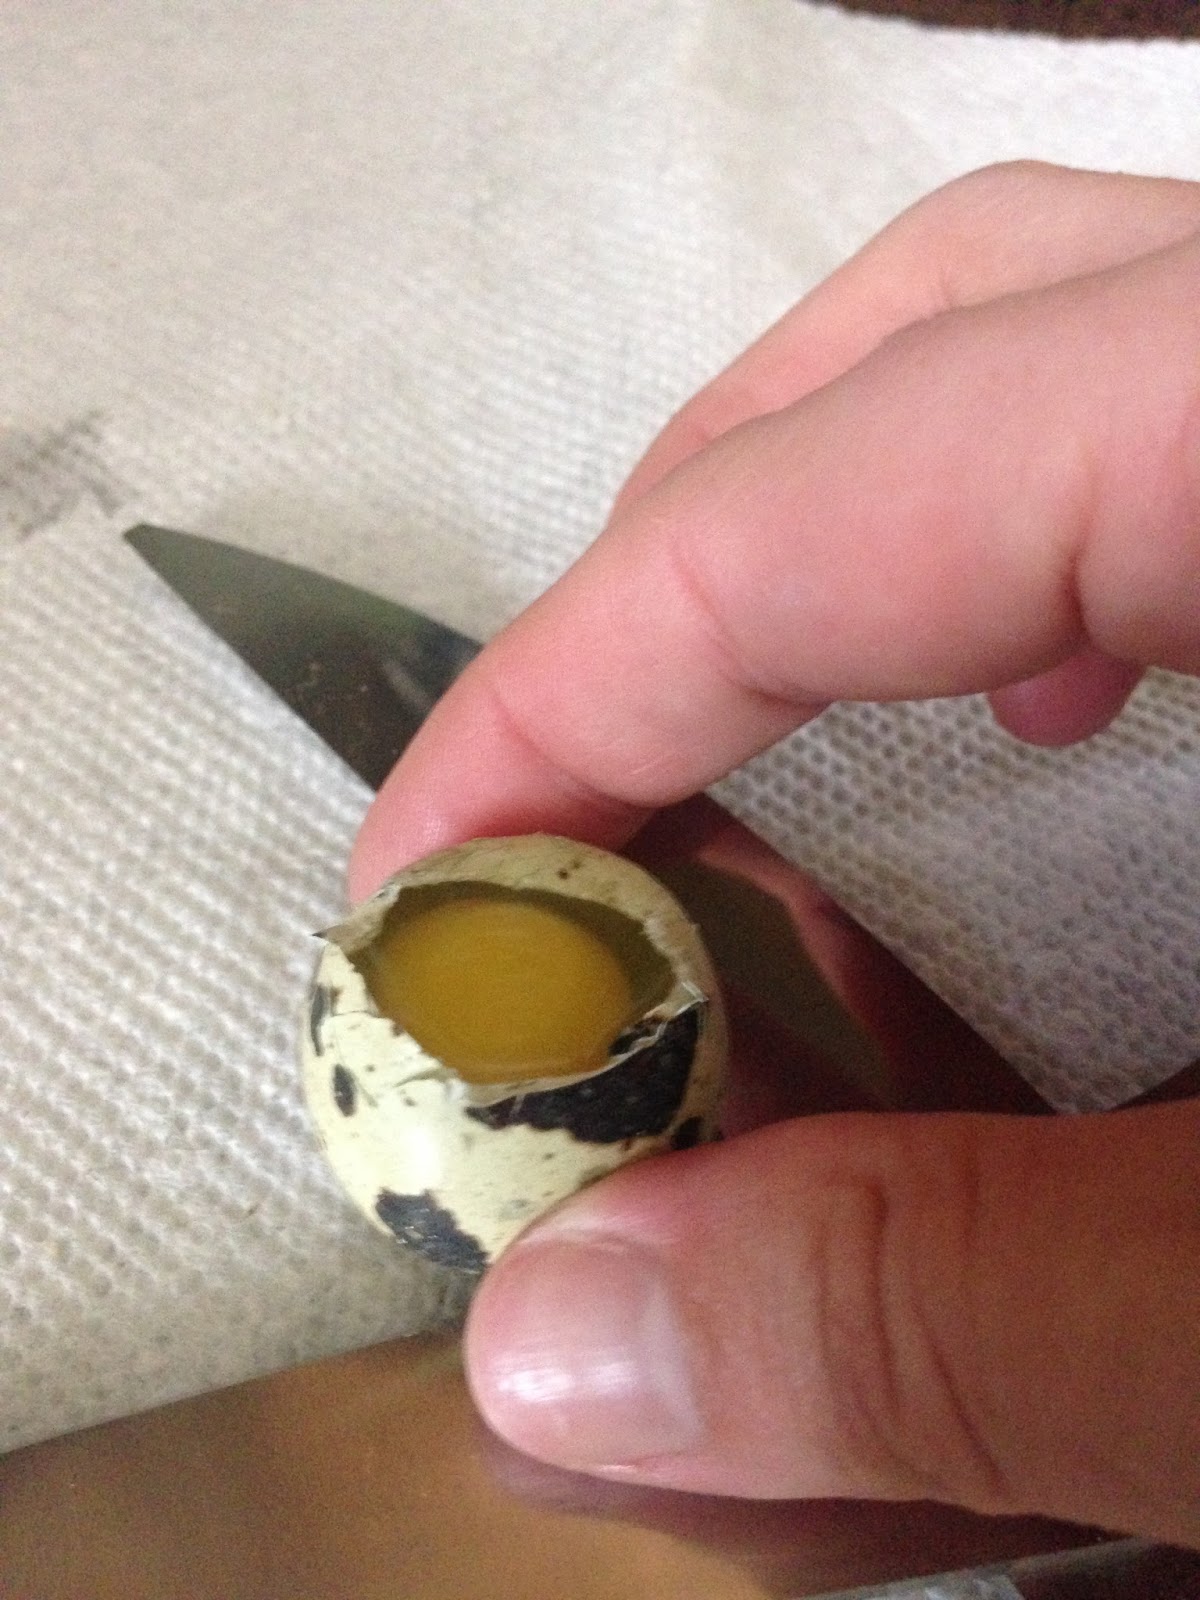
Peel Eggs
- hit both the large/rounded end and the pointy/small end on a hard surface.
- roll egg around on hard surface so shell is shattered all over egg.
- start peeling on small/pointy end by pinching egg shell and pulling (this is the hardest part in regards to peeling quail eggs). be sure you get some of the membrane with the shell and once you start pulling the shell should come off with the membrane in one solid ribbon like piece.
- place eggs on a clean dry surface to allow them to dry completely. this will make it easier to apply the sausage.

Prepare Fryer and Egg Covering
- turn on frier or heat oil in a large pan (will need to be about 4-5 inches deep) to about 350 degrees F.
- put the crumb mix in a bowl and set aside.
- put the contents of the 2 chicken eggs into a bowl with about 1/4 cup water along with salt and pepper (amount depends on taste preference).


Prepare Scottish Egg

- cover each egg with sausage.
- role in the crumb mix.
- role in the liquid egg mix.
- role again in the crumb mix.
- prepare Scottish eggs to be fried.


Fry the Scottish Eggs
- once oil is heated put prepared Scottish eggs into oil. be sure that they are completely submerged.
- cook for 4-6 minutes or until they are golden brown.
- allow oil to drip from them then place on a paper towel.


Enjoy Now or Later
- great served with sautéed vegetables, biscuits, pancakes, waffles, or any other sides of your choice.
- if you would like to prepare these ahead of time or for an easy feature meal they are great as leftovers either cold or reheated in the oven/toaster oven - avoid microwave in order to preserve taste and texture.

Photos used are the property of Midnight Acres and if you would like permission to use any of them please contact the owner Ashley Knight to request it.