
How to Crack Quail Eggs
I list 3 different techniques on how to do this using 3 different tools
Scissor Technique
- Tool needed: Scissors, flat/clean surface, bowl(s), and quail egg(s)
- use scissors to cut around egg about a 1/4 of an inch from pointy (small) end of egg. you want to be sure to go all the way around the egg so there is a clear circle cracked around the shell.
- once the circle is made use the tip of the scissors to make a puncture in the eggs membrane. this will allow you to put your finger into it and lift the top of the eggs shell off. once the top has been removed dump the eggs contents into a clean bowl or cook pan. discard egg shells and clean work area/tools when finished.


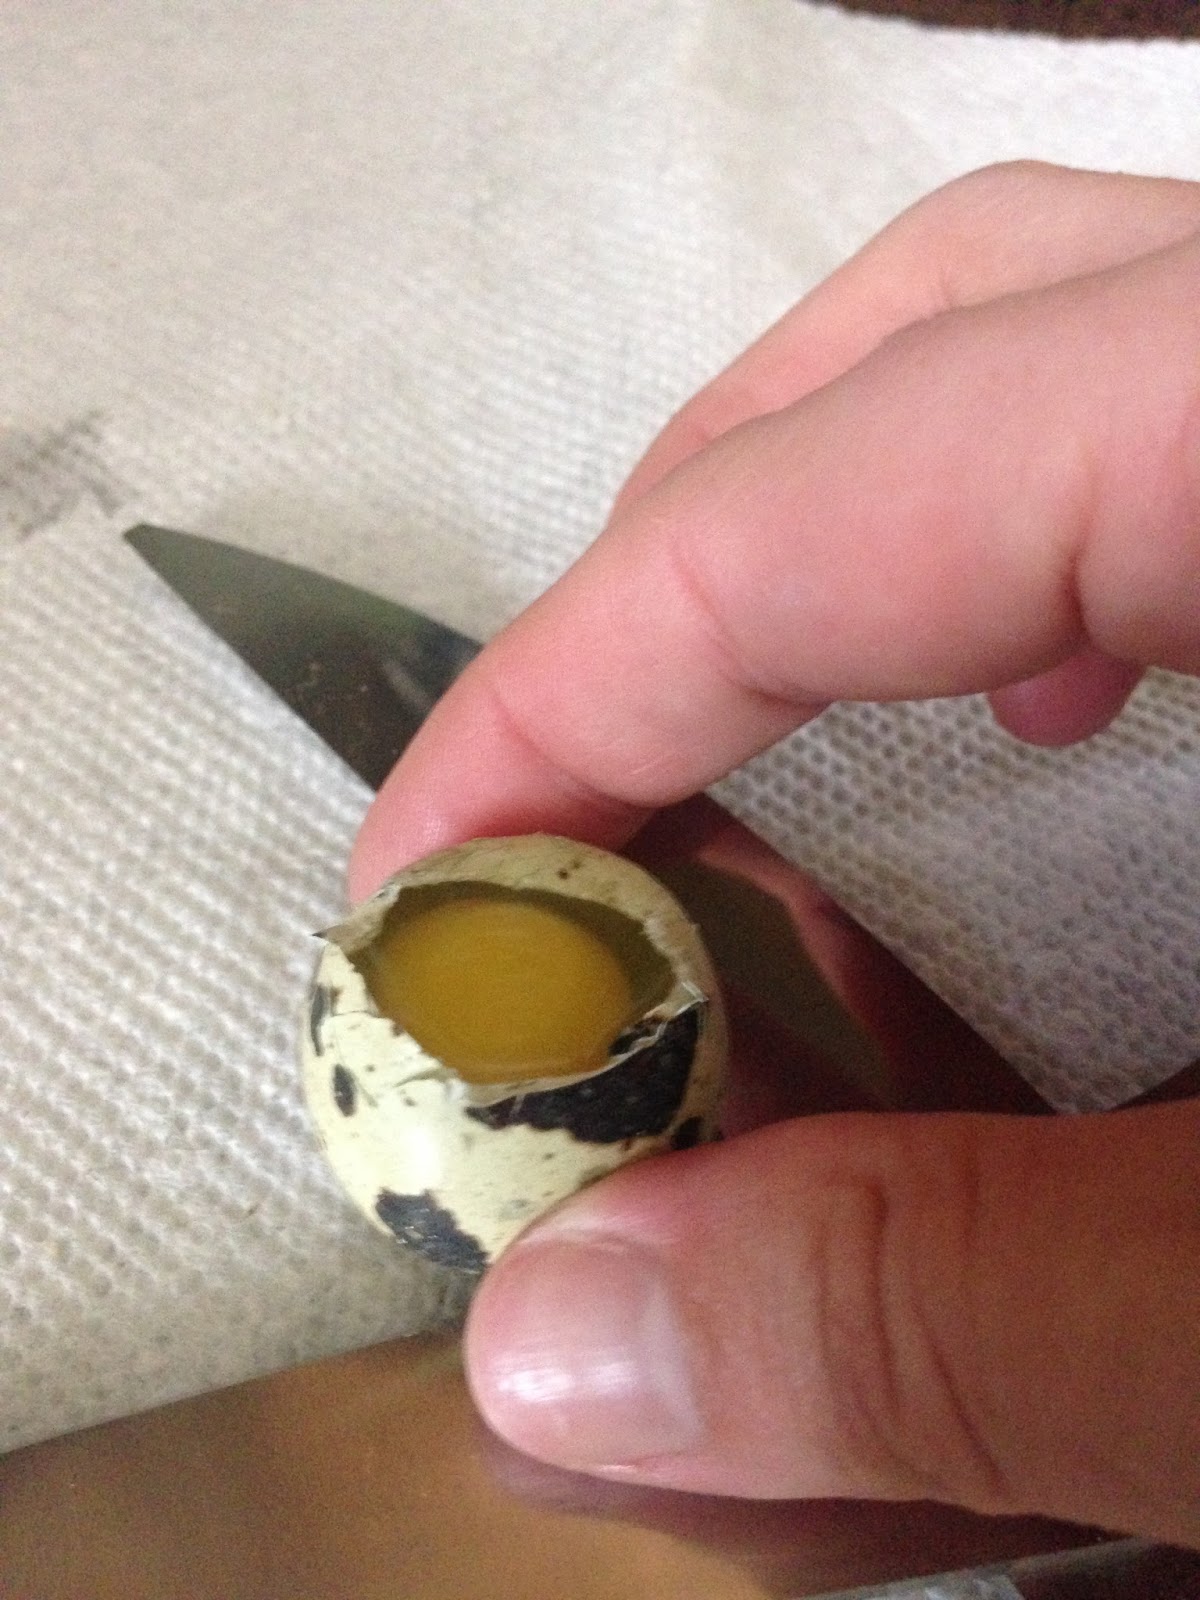
Knife Technique
- Tools needed: Knife, hard/clean surface, bowl(s), and quail egg(s)
- place knife on hard surface so that flat side is against hard surface. align egg so that about 1/4 inch of pointy (small) end is hanging over edge of knife. be sure that fingers are not in way of knife blade (this is more dangerous than other 2 ways described so please be very careful not to hurt yourself).
- gently but firmly hit egg over blade part of knife until knife has penetrated egg shell completely. this may take a couple hits but does get easier and faster with practice.
- remove egg from knife and pull “cap” off of egg. dump egg contents into bowl or frying pan and discard egg shells. be sure to clean work area/tools when finished.


Quail Egg Scissor Technique:
(This is how I prefer to crack my quail eggs due to its ease and quickness, you can buy these scissors from me for $10 or online)
- Tools needed: Quail Egg Scissors, bowl(s), and quail egg(s)
- make sure scissors are open and place pointy (small) end through the hole of the scissors. make sure the pointed/cutting part of scissors is going to close underneath the part with the hole in it, this reduces mess and makes opening a little larger.
- close scissors completely. this will result in the egg being “capped” and the top will be removed as you raise the scissors up off of the egg. i like to have a bowl to put shells in along with set the scissors into while grabbing another egg. this just helps keep the work environment cleaner.
- once cap has been removed egg contents can be dumped into a frying pan or bowl. with larger eggs you may have to gently squeeze them in order to get the contents to slide out more easily. discard egg shells and clean work area/tools when finished.


No comments:
Post a Comment